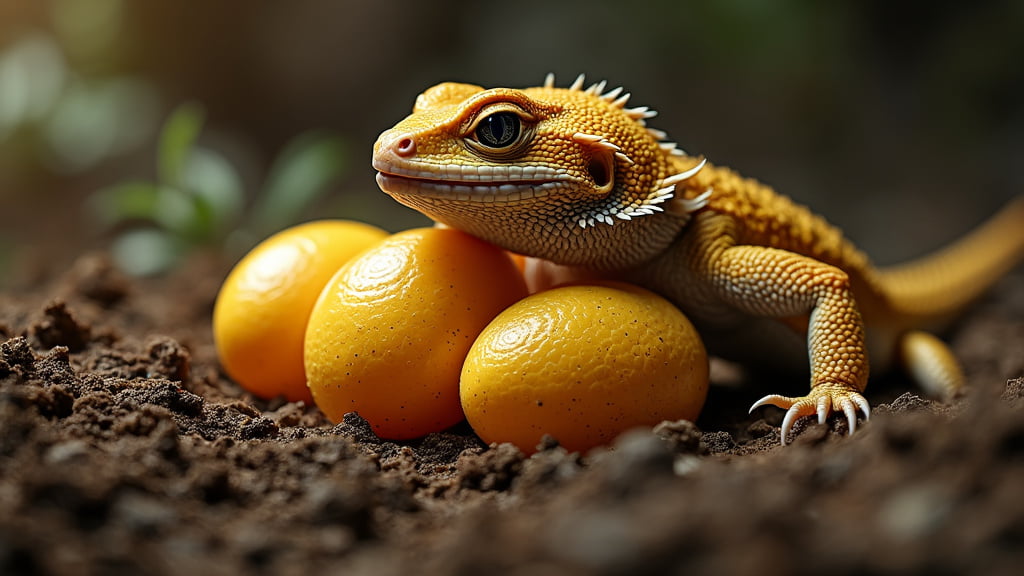
When it comes to breeding bearded dragons, one of the most critical steps for ensuring healthy hatchlings is the incubation period. Incubating bearded dragon eggs can seem daunting, but with the right information and preparation, you can successfully hatch your very own baby dragons. As someone who has been breeding and caring for bearded dragons for years, I’m excited to share my experiences and insights with you.
Setting Up Your Incubator
Choosing and setting up an incubator is the first step in ensuring the successful incubation of bearded dragon eggs.
Selecting the Right Incubator
There are a few types of incubators to consider:
- Commercial Reptile Incubators: These are readily available and specifically designed for reptiles. I recommend the Zoo Med Reptibator as it’s reliable and user-friendly.
- DIY Incubators: You can create a DIY incubator using a polystyrene box and a heating pad. Ensure proper temperature regulation.
Preparing the Incubator
Once you have your incubator, follow these steps for setup:
- Clean Thoroughly: A sanitary incubator is crucial to prevent fungal or bacterial infections.
- Set the Temperature: Bearded dragon eggs need a constant temperature between 29°C and 31°C (84°F – 88°F).
- Humidity Levels: Maintain humidity around 75%. You can achieve this by placing a bowl of water inside the incubator.
Placing the Eggs in the Incubator
Proper handling and placement of the eggs are essential for successful incubation.
Handling Bearded Dragon Eggs
- Be Gentle: Always handle the eggs carefully to avoid damaging them. I use a spoon to move mine.
- Do Not Rotate: It’s vital to keep the eggs in the same orientation you found them. Marking one side with a pencil helps keep track.
Arranging the Eggs
There are a few key points to remember when placing the eggs in the incubation medium:
- Incubation Medium: I recommend using vermiculite or perlite, moistened to the point where it clumps in your hand without dripping.
- Spacing: Ensure each egg has enough space around it for air circulation and ease of observation.
Monitoring During Incubation
Once your eggs are safely in the incubator, regular monitoring is essential.
Temperature and Humidity Checks
- Daily Monitoring: Check the temperature and humidity levels daily. Small fluctuations can affect the development of the embryos.
- Thermostat and Hygrometer: Invest in a good thermostat and hygrometer for precise measurements. Occasionally, I use two devices for cross-verification.
Observing Egg Health
- Candling: To check the development of the embryos, you can use a process called candling. In a dark room, place a small flashlight against the egg to observe the veins and embryo development. This shouldn’t be done too often to avoid stress.
Dealing with Problems
- Discoloured or Moldy Eggs: Sometimes eggs may become discoloured or moldy. I have had instances where separating affected eggs saved the rest. Consult with a vet if unsure.
Hatching Time
As the incubation period nears its end, it’s time to prepare for hatching.
Signs of Imminent Hatching
- Denting and Sweating: Look for signs like the eggs developing dents and a slight “sweating” as the hatchlings prepare to emerge.
- Pipping: Hatchlings will begin to pip, making small slits in the eggshell. This process can take up to 48 hours.
Assisting Hatchlings
Frequently, it’s best to let nature take its course, but if a hatchling seems to struggle after 48 hours, you might need to assist gently. I have occasionally had to intervene by carefully enlarging the eggshell opening.
Conclusion
Incubating bearded dragon eggs is a rewarding experience that requires attention to detail and dedication. By providing the proper environment and closely monitoring the incubation process, you can ensure the successful hatching of healthy, vibrant baby dragons. Remember, each experience adds to your knowledge and expertise. Happy hatching!
If you found this guide helpful, check out our posts on Bearded Dragon Nutrition and Creating the Perfect Bearded Dragon Habitat for more expert tips.
Feel free to reach out with your questions or share your hatching stories in the comments below!

